
MPBR: what it is, how to find it, and why it’s awesome
MPBR is a concept sometimes taught in sniper schools and training courses which students have a tendency to endure rather than embrace. It can be difficult to explain without students feeling overwhelmed with jargon. This makes the concept seem complicated and its benefits can get lost in the process. Further, it’s not generally emphasized as a “core concept” required for certification even in advanced-level schools. As a result, it’s an under-appreciated tactic.
While the math may be complicated, the concept itself is not. Rifle hunters have been using the technique for decades, most without knowing that’s what they’re doing. They’ve simply learned their weapon system through experience. They know their acceptable target size. They can tell you where their bullets will impact at various distances. They know how far away they can be and get an acceptable hit. In a nutshell, that is MPBR. To put it concisely, MPBR is the answer to this question: while holding dead on, how far away can you be from your target and still get a hit?
For a LE/Mil sniper, there is a lot of value here. For example, typically once they’ve moved into a firing position snipers will develop a “range card” including a set of target reference points and associated firing solutions for likely target locations. But this takes time and time is a luxury they don’t always have. If an engagement becomes necessary before they’ve had time to finish their range card, what can they do? If they’ve calculated and verified their MPBR data ahead of time, they might be in good shape.
For a competitive shooter the value is obvious. Given targets of acceptable size and distance, MPBR shooting means no math necessary. Just point and shoot. But you have to know your system. You have to know the acceptable target size and allowable distance. You have to do the work ahead of time.
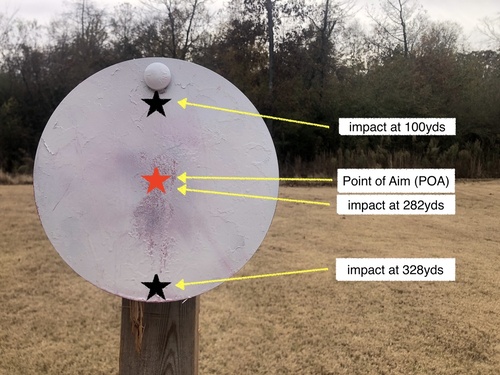
Here is an example using the 5.56 DMR belonging to one of our Zero Theory staffers: using his rifle, suppressed, with known ammunition (77grn SMK), the MPBR for a 10″ target is about 330 yards and requires 1 milliradian of elevation dialed on the scope. To say that a different way, for targets 10” and larger, all he needs to do is dial 1 mil and hold center mass. Anywhere out to 330 yards, he’ll get a hit.
That’s it. That’s the secret. It’s easy and it’s awesome.
The next question is how do you find your MPBR? One answer is to use a ballistics calculator. The Applied Ballistics software in a Kestrel makes it easy. If you already have your gun set up in a Kestrel, just go to Gun > ZR > MaxPBR, input your acceptable target size, and you’re done. It tells you your MPBR in black and white. It will tell you a couple other useful things as well, for example FarZR or “far zero.” This is the distance at which your Point of Aim (POA) and Point of Impact (POI) are the same.
In our example, it’s 282 yards. Normally the zero is 100 yards, but in this example, we’ve dialed 1 milliradian on the scope. This results in a new zero distance (282 yards). They call it “far zero” because the gun will also have a “near zero” where the bullet crosses your line-of-sight much closer than usual, due to the arch of the bullet path. This is the same concept as the so-called “50/200 zero” used for carbines. Another useful data point is the “NoGo” feature. In our example, the NoGo value is “0.85 mil”. Here the Kestrel is telling us a quick way to determine if we’re too far out for MPBR. If you’re measuring a 10″ target in your reticle and it’s smaller than 0.85 mil, you’re too far away.
For other ballistics apps, all you really need to do is produce a regular drop table. Use small increments, like 25 yards, back to about 400 yards. Make sure your calculator shows your bullet drop in inches. If your acceptable target size is 10” then your MPBR is (roughly) whatever distance where your drop chart shows your bullet has dropped to 5” (where 5” is the bottom half of the acceptable target size of 10”). This method can be somewhat limited if your ballistic app doesn’t allow you to account for dialing elevation. If it does, you can dial elevation in increments until you find the best MPBR for your needs.
In either case, test firing your own rifle is critical. Step one is to get a rough idea based on one of the above techniques (or any other way you come up with). Step two is go out and test it. You can do it on paper or steel. Paper will clearly illustrate your misses, if you’re interested to see how far off you were at any point. Steel is preferable if you don’t like walking and don’t care to know how high or low you were off on missed shots. Ideally use a target the same size as your acceptable MPBR target size. To continue the above example, a good 10” steel plate will do the trick. Just hang the target, set down somewhere, hold center mass, and pull the trigger. If you get a hit, back up a bit and repeat. If your steel is freshly painted you’ll see the impacts drifting lower and lower. Eventually you’ll miss low. Scoot up a little, get your hit, and you’ve verified your MPBR.
Another thing you’ll learn by shooting and vetting your MPBR data is the environmental variables and the imperfection you bring to your weapon system as a human being means your 10” MPBR data doesn’t work out exactly they way you expect. We are not robots shooting inside a laboratory. So work out your math then go test it. See what works for you then commit it to memory. It’s quite comforting to know you can hit anything inside a certain range with no prep and no math. Just point and click. Or, as one particular sniper instructor we know has said…there’s nothing out there you can’t kill.
Like this? Check out our other articles…
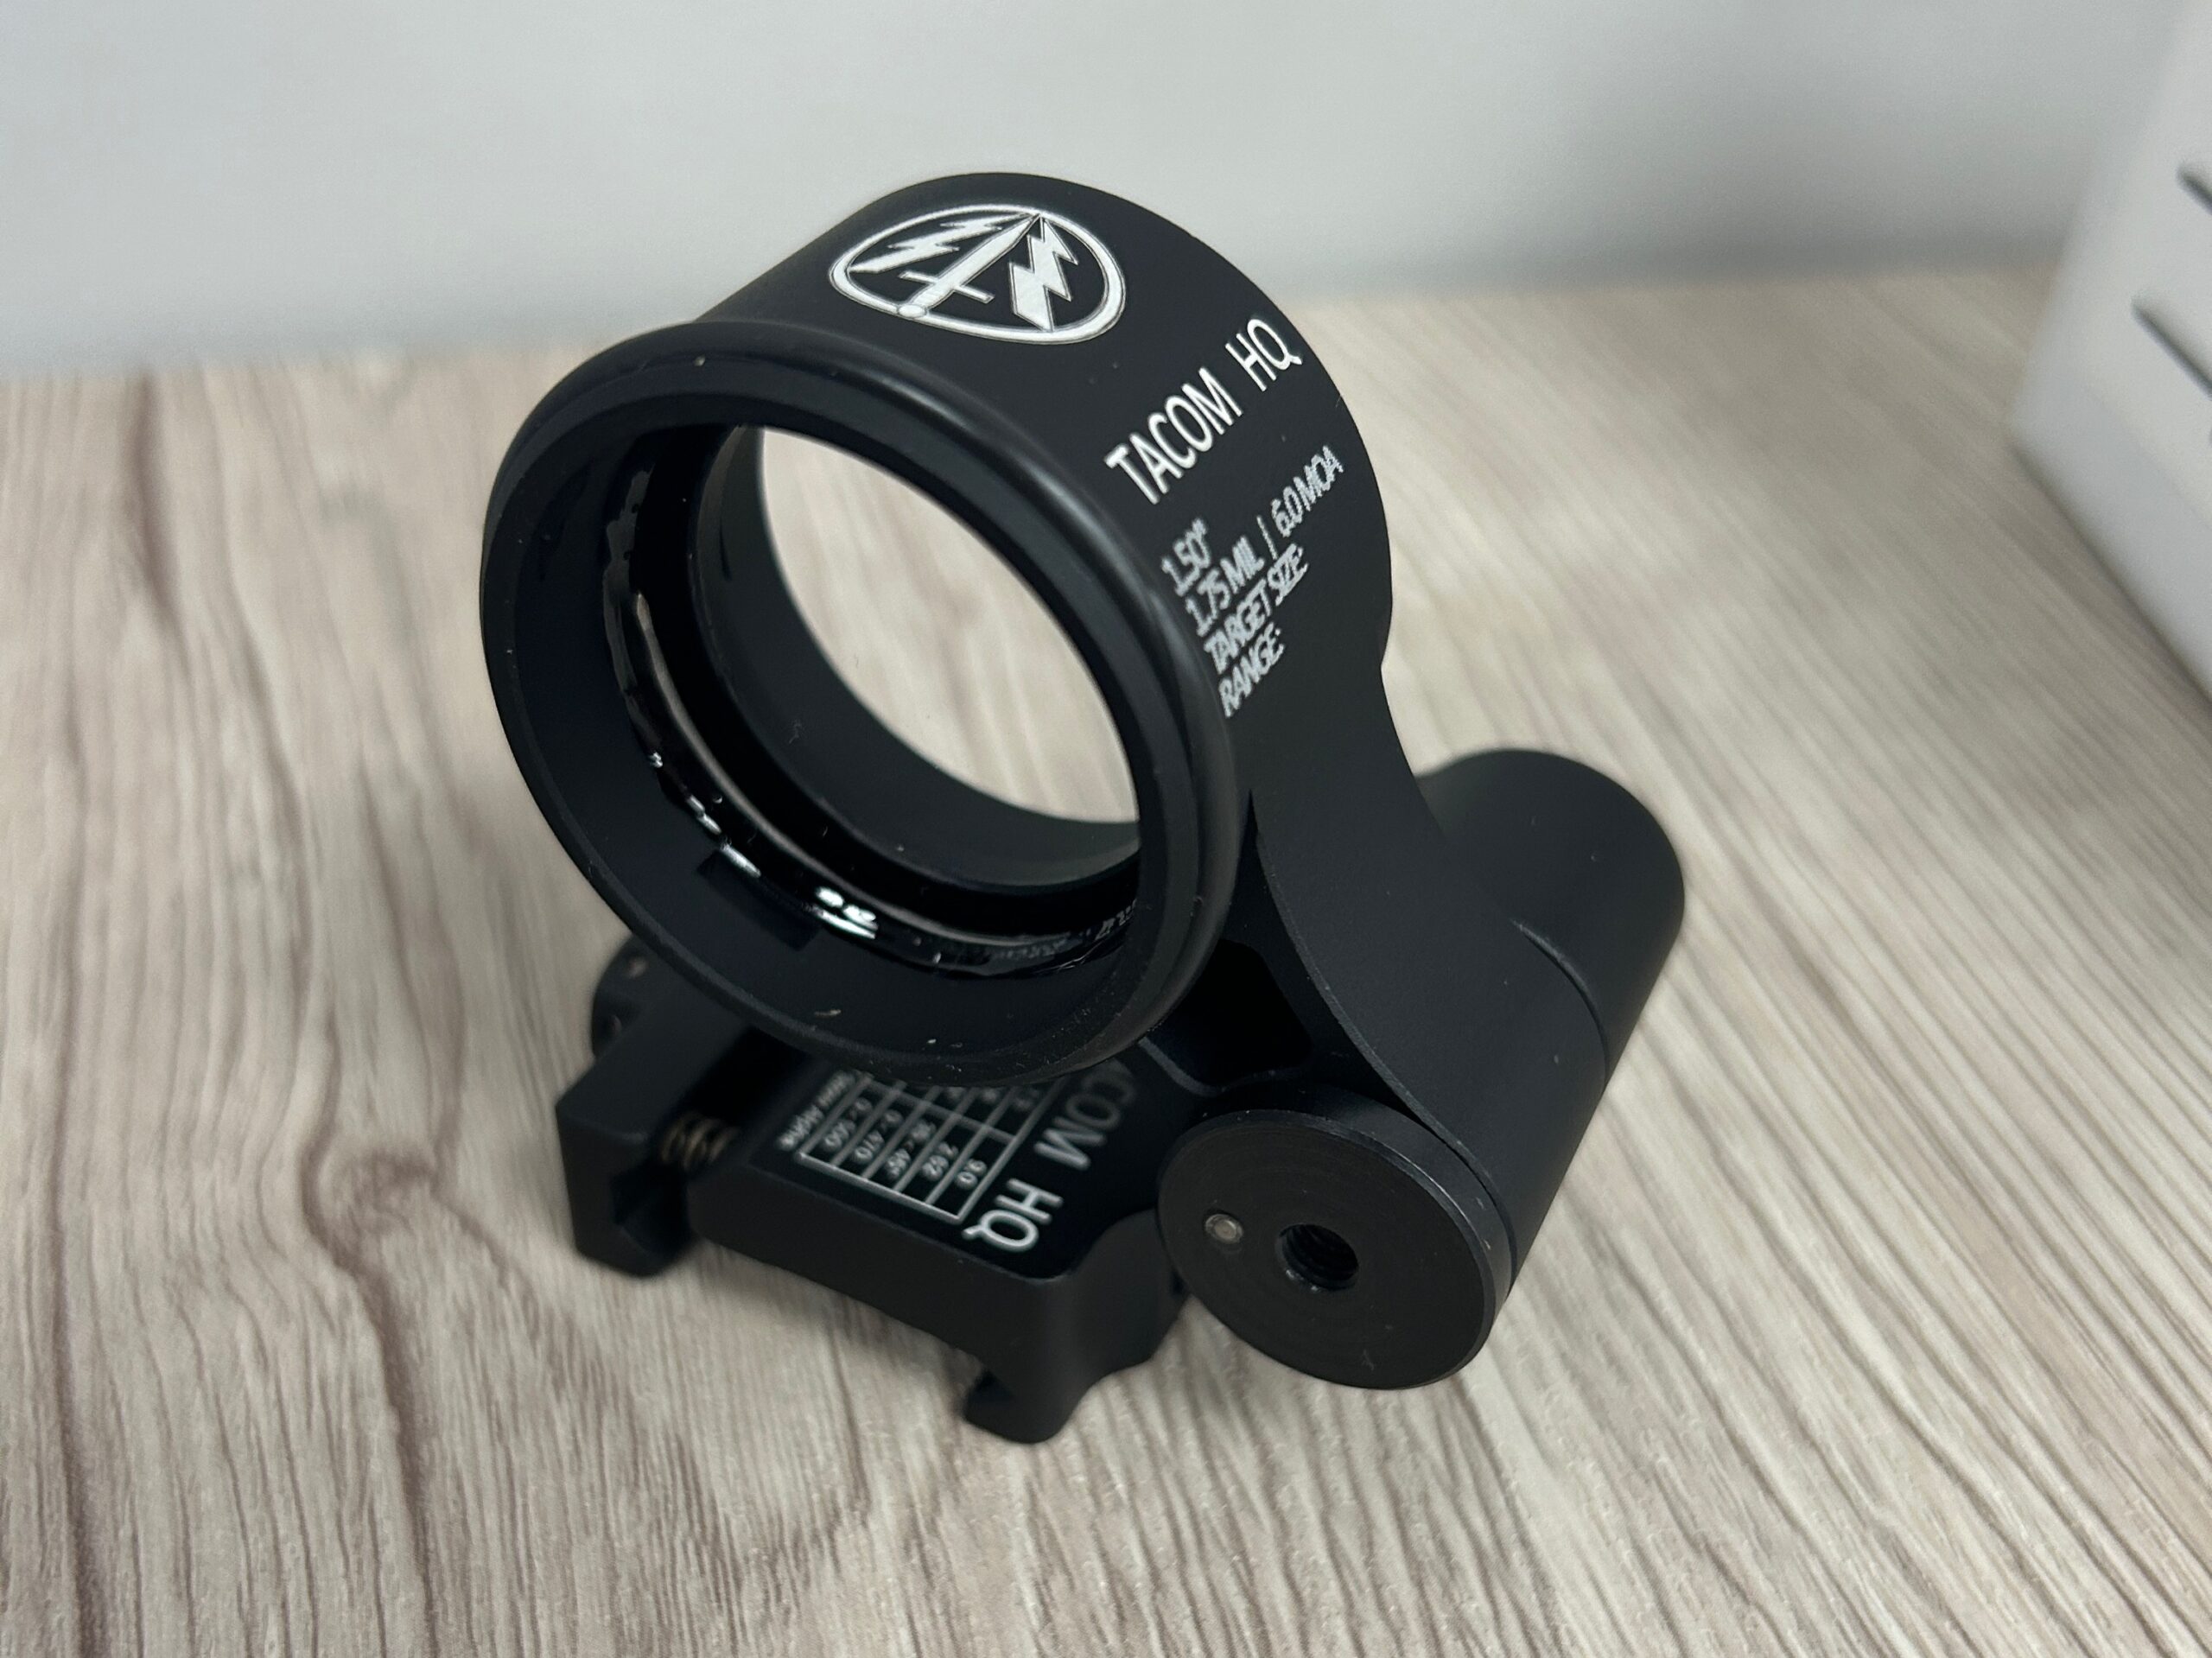
[028] Gear: Alpha TARAC by TACOM HQ
by Zero Theory staff The Optic I Didn’t Recognize [...]
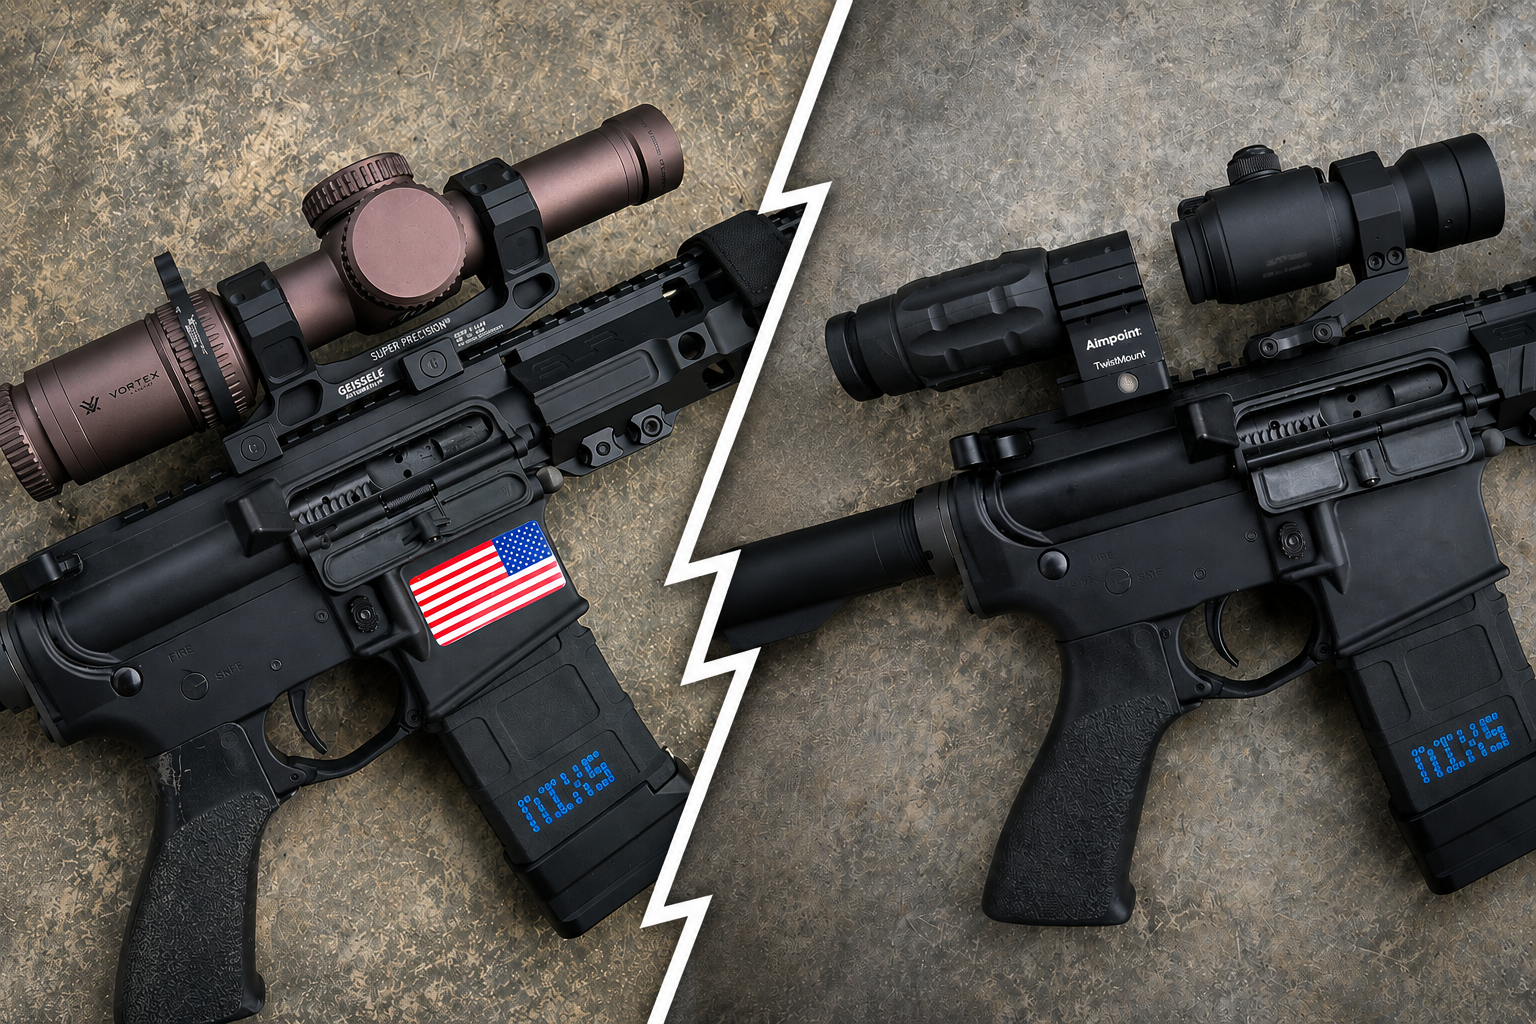
[027] LPVO vs Red Dot + Magnifier
by Zero Theory staff People often ask whether they should [...]
[026] Unknown Distance and Rapid Engagement
Measure Twice? Nah - Just Send It by [...]